eclipse + git 연동
1. Github Repository 생성
- Repository name 을 설정 후 Create repository 클릭


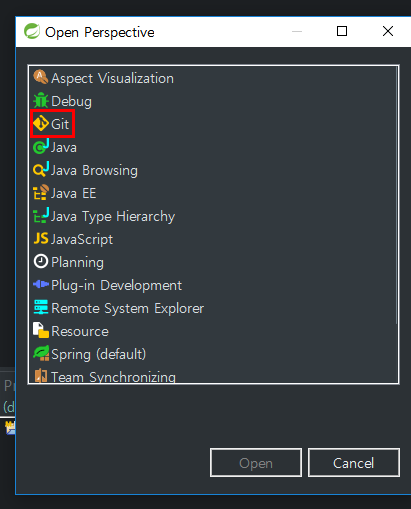
2. eclipse Git Repositories 추가
- Open Perspective에서 Git을 추가 후 Github에서 생성한 Repository Clone 후 추가


3. Git Repository 에 올릴 프로젝트를 Git에 연동
- Team > Share Project...
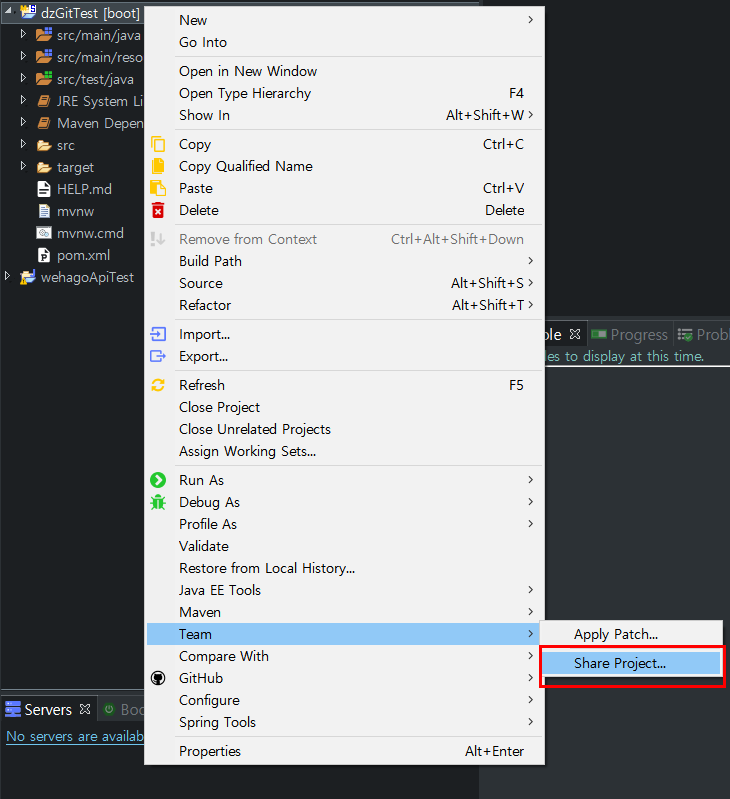
- 2번에서 생성한 Git Repository선택

4. 연동된 Git Repository (dzGitTest) 에 첫 Commit
- dzGitTest Repository와 연동이되면 아래 화면처럼 프로젝트옆에 NO HEAD로 표시가 나옴

- Team > Commit : Git은 Svn과 다르게 Commit Message가 필수
- Git Staging :변경된 소스목록을 Unstaged Changes 에서 staged Changes로 이동 시킨후 Commit and Push... 클릭
- staged Changes = Add to index
- Commit and Push... : Remote Repository (dzGitTest) 로 바로 소스가 올라감

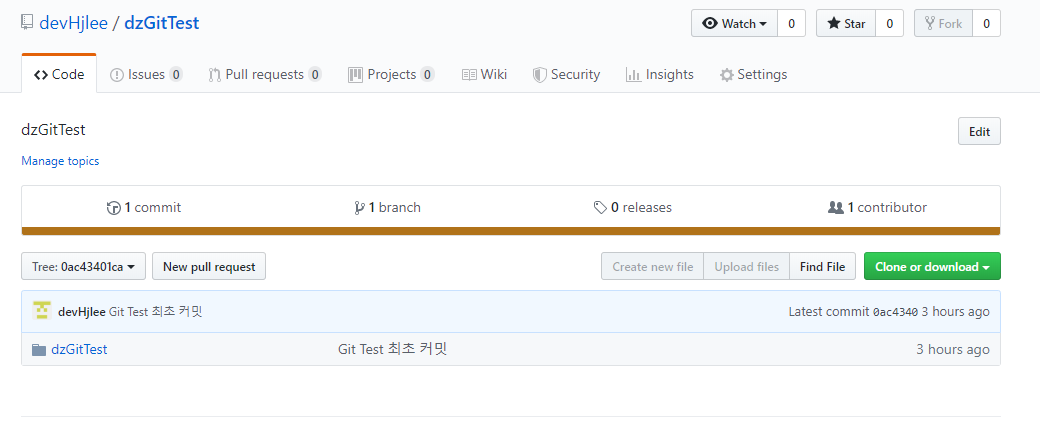
5. Remote Repository에서 목록 확인.
6. Commit , Commit and Push 차이
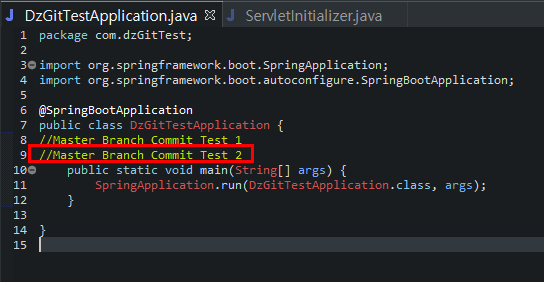
- 아래 화면에서 DzGitTestApplication.java 에 주석을(Master Branch Commit Test 1) 추가 후 Commit and Push 진행
- Commit and Push : Local Repository 에 변경된 내용을 반영 후 Remote Repository에 반영

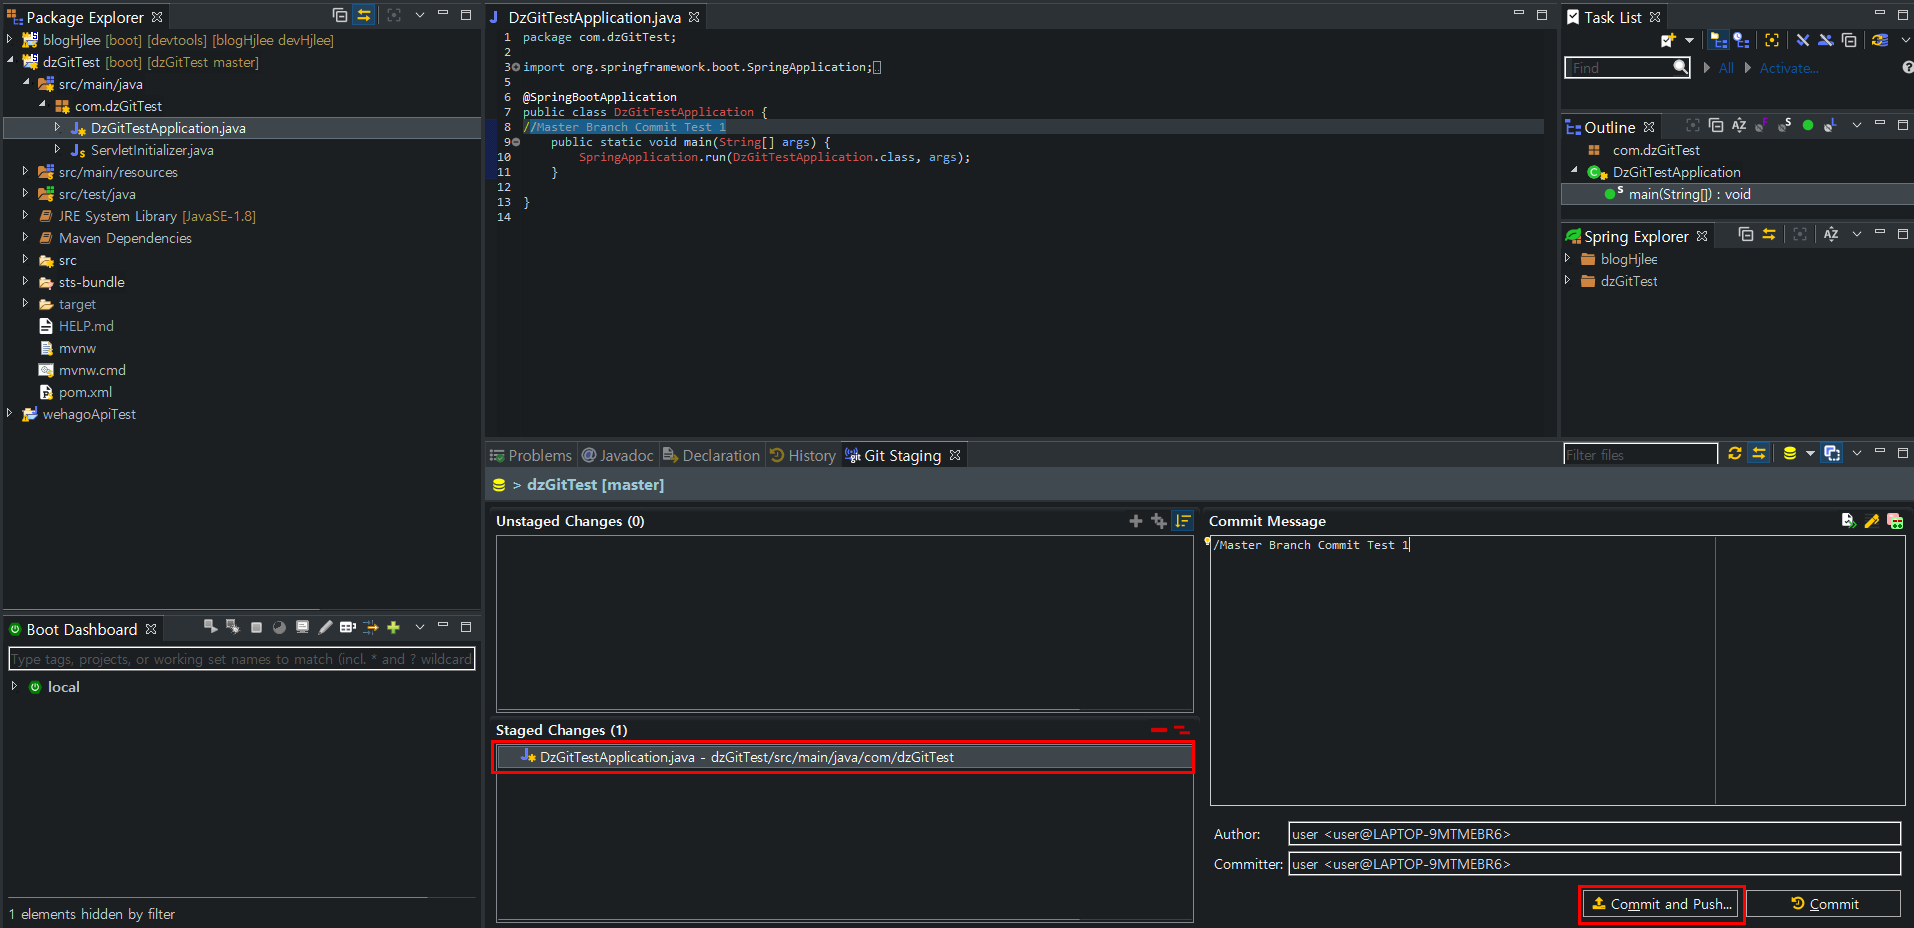

- Commit : Local Repository 에만 반영
- DzGitTestApplication.java 에 주석(Master Branch Commit Test 2) 추가 후 Commit 진행 후
servletInitializer.java 에 주석(Master Branch Commit Test 3) 추가후 Commit 진행

- 두개 파일을 따로 Commit 진행 하였으므로 아래에 화면처럼 Remote Repository에 Push 할 목록은 2개가 표시됨
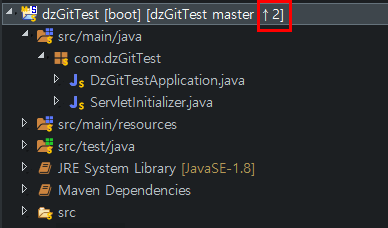
- Team > Push Branch Master...


